
What to Expect From Gutter Guard Installation Around Briar Texas
J. Riley Roofing & Gutters follows the attachment method that suits the guard, the gutter and the roof edge, and the method is matched to your roof and not borrowed from another.
Phone 940-456-9905, and the steps will be explained in plain terms.
Getting the Gutters Ready First
Leaking seams are re-sealed while they can still be reached from above, and the whole system is checked as it is cleared. Dents, sags and bent sections are straightened where possible, since the guard has to sit on a true line, and the findings are shared with the homeowner.
Measuring and Choosing the Right Size
Each run is measured in length, and the number of corners, outlets and end caps is counted, and an extra piece or two is kept for awkward spots. Steeper roofs call for covers that do not let water overshoot, and the product details should show this, and you can look at a sample piece.
Pressing Guards Into Place
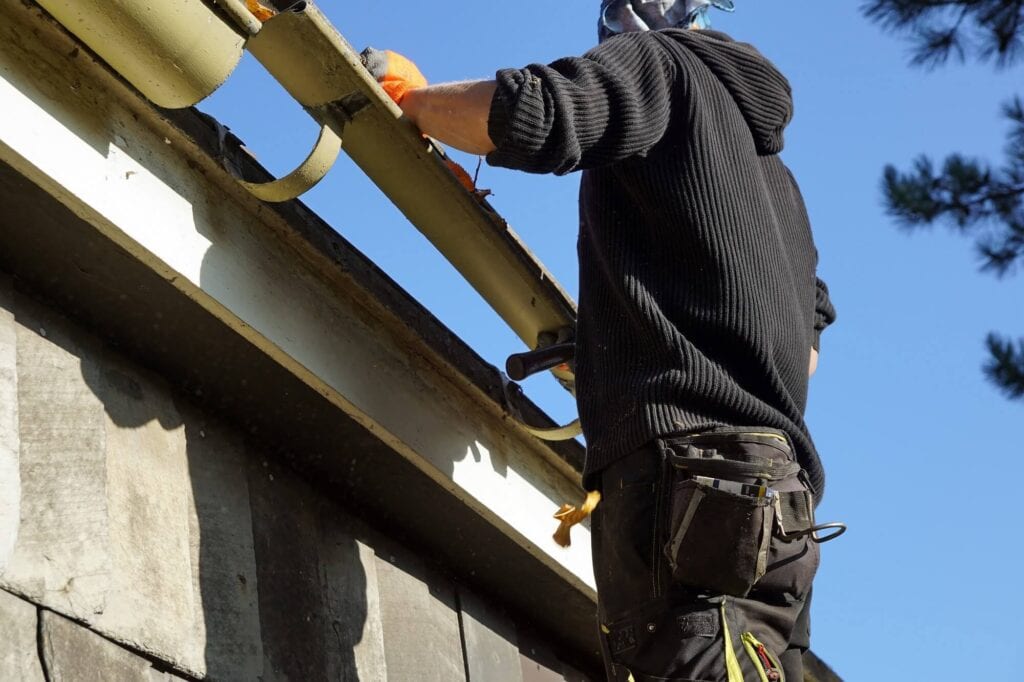
Where a cover meets a corner, the end is cut and shaped so that it sits flat against the next piece, and the lip of the gutter must be straight for the clips to grip. Screws are driven with care so that they do not pierce the trough or leave sharp points inside, and the installer walks the run to look for loose spots.
Coordinating a Guard With the Roof
The roof manufacturer's instructions should be read first, since some roofs have rules about what may be tucked beneath them, and the shingle edge should not be bent or broken. Where the roof edge is worn or the drip edge is missing, repairs should come before the cover goes on, and this method suits some roofs better than others.
Fasteners, Brackets and Firm Attachment
Fascia-mounted brackets hold a hooded cover at the right angle, projecting forward over the edge of the gutter, and sealant is applied where a screw passes through the trough. Long runs need small gaps between sections for expansion, and the fasteners allow for slight movement, and the cover should be tight against the gutter without bowing.
Cutting Corners, Outlets and Downspout Openings
End caps and ends of runs are closed off so that nothing can slip behind the cover, and each cut is tested before the final piece is cut. Outlet guards or strainers can be added where the trough empties into the downspout, to stop small debris from getting through, and a clean cut leaves a clean finish.
Dealing With Hangers and Other Obstacles
The installer plans around each obstacle before cutting, to avoid damaging the guard, and there should be no gaps beneath it. Roof heat cables, if present, should not be covered or pinched by the guard, and the homeowner should mention any such features at the start.
Walking the Run After the Cover Is On
A well-seated cover touches the gutter at the front and the back, with no daylight showing between the two, and adjustments are small but important. The aim is a roof edge that looks tidy and a cover that works as intended, and a tidy appearance usually means the work was done well.
A Practical Check Before the Crew Leaves
Downspouts are watched at the bottom to make sure the water is flowing freely through the new system, and the real storm will repeat the test on a larger scale. Any overshoot or pooling should be noted with the date and the weather, so the cause can be worked out, and most issues can be solved with a small change.
Why Gaps Between Sections Are Deliberate
Screws set in slotted holes let the cover slide slightly as the temperature changes, and rattling at night often points to a fastening problem. Good installers allow for the likely range of temperatures in Briar Texas when setting the gaps, and a cover that sits well in all seasons is the aim.
How the Gutter Type Affects the Job
On a sectional gutter, there are seams along the run, and the guard needs to bridge them without catching on the connectors, and a mismatch causes gaps and rattles. Custom work on an unusual roofline takes time, and the installer should describe it before starting, and honest advice about the limits saves frustration.
Safety on the Ladder During Guard Installation
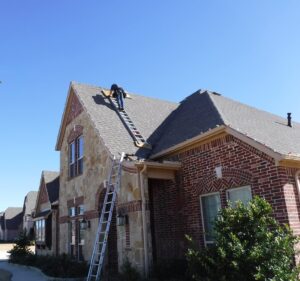
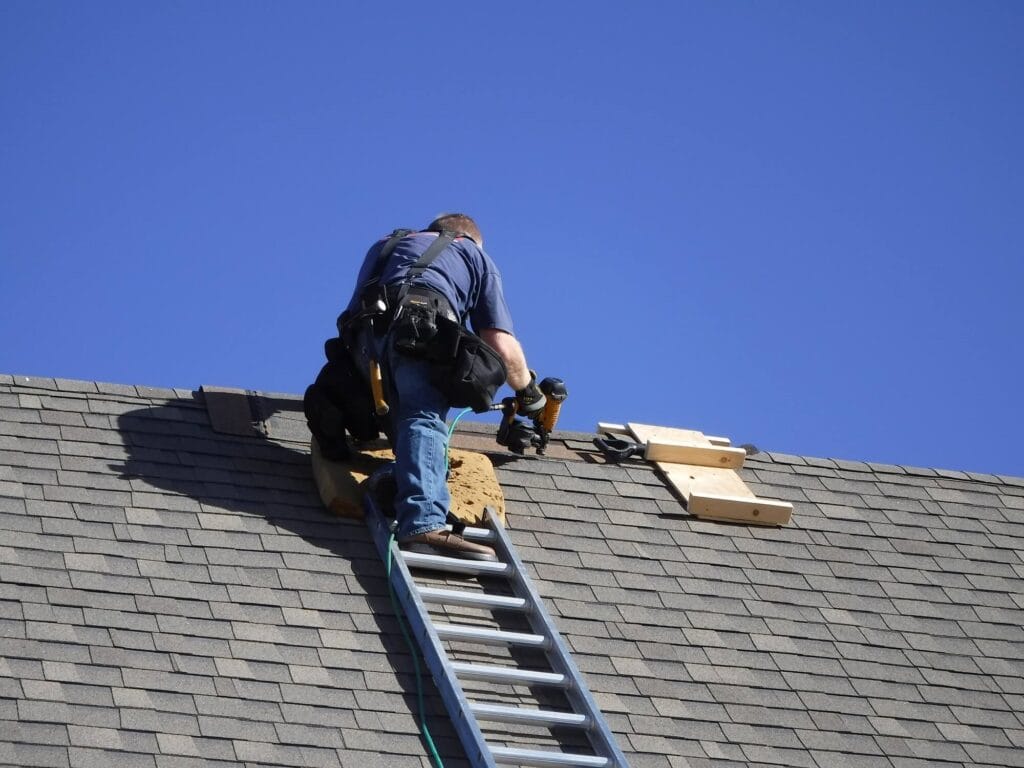
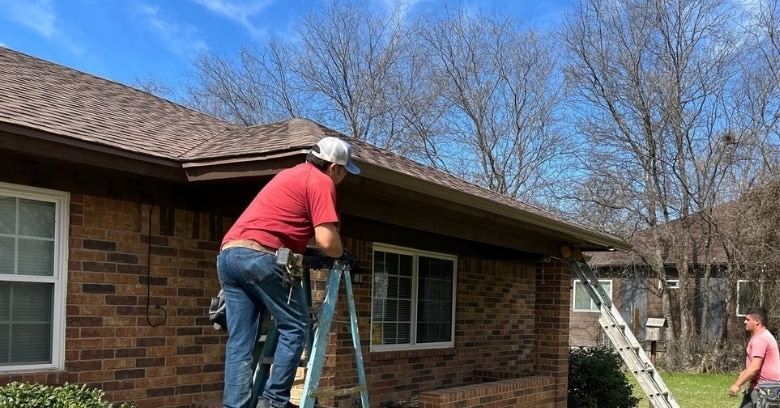
Guard installation takes place along the edge of the roof, at the top of a ladder, so safe habits matter at every step, and wet or windy conditions are good reasons to postpone. The crew should clean up the metal shavings and offcuts, which can injure feet and paws, and plants near the wall may need a covering.
Closing Out the Job
Product details, such as the type, size and color of the guard, are noted for the records, and the covers should look neat from the street. Look at the guards after the first few rainstorms, watching for overshoot, pooling or debris caught at the edge, and small fixes are easiest when they are made early.
How the Guards Look Once They Are On
Guards come in a range of finishes, and a cover that matches the gutter or the trim nearly disappears from the street, and a quick look at covers on nearby houses helps in choosing.
Choosing a Good Time for the Work
Someone does not have to be home during the work, though a short walk-around at the end is useful, and a call the day before confirms the plan.
Doing It Yourself or Having It Done
On a two-story house, the height changes the picture, and a fall from a ladder is a serious risk, and the choice is a personal one.
Booking a Visit for Gutter Guard Installation in Briar Texas
To go over Gutter Guard Installation in Briar Texas, ring J. Riley Roofing & Gutters at 940-456-9905, and the steps are explained before any decision is made.