
Gutter Installation in Keller Texas: The Job From Start to Finish
J. Riley Roofing & Gutters walks through every step of an installation so the homeowner knows what to expect, and the work is explained as it goes.
Reach us at 940-456-9905, and someone will talk through an installation for your home.
Reading the House Before the First Cut
The fascia is checked for soft spots and rot, since new gutters are only as sound as the board behind them, and the choice of profile, size and finish is settled here. A roof with a steep slope or many valleys sends more water to certain spots, which affects where outlets go, and anything unusual about the house is worth mentioning at this stage.
Tear-Out Before Installation
When old gutters come down, the crew removes hangers, nails, spikes and any broken sections along with them, and the exposed fascia is a chance to spot rot or damage. A straight, solid fascia is what lets the new gutter hold its pitch for years, and a good surface makes a neat finish possible.
Chalk Lines, Levels and the Slight Tilt
Before any hanger goes up, the installer marks the fascia with a chalk line that sets the slope of the gutter, and a string line shows whether the board itself is straight. Matching the gutter to the roof edge gives a good chance of catching the water, and a taller wall may need a different setting.
How a One-Piece Run Is Made
One-piece gutters are made by feeding a coil of flat metal through a rolling machine that shapes it into a trough, and a precise cut at each end makes for a neat finish. Whichever method is used, the finished run should look straight, sit snugly and drain cleanly, and long runs need expansion allowances for heat.
What Keeps Gutters on the House
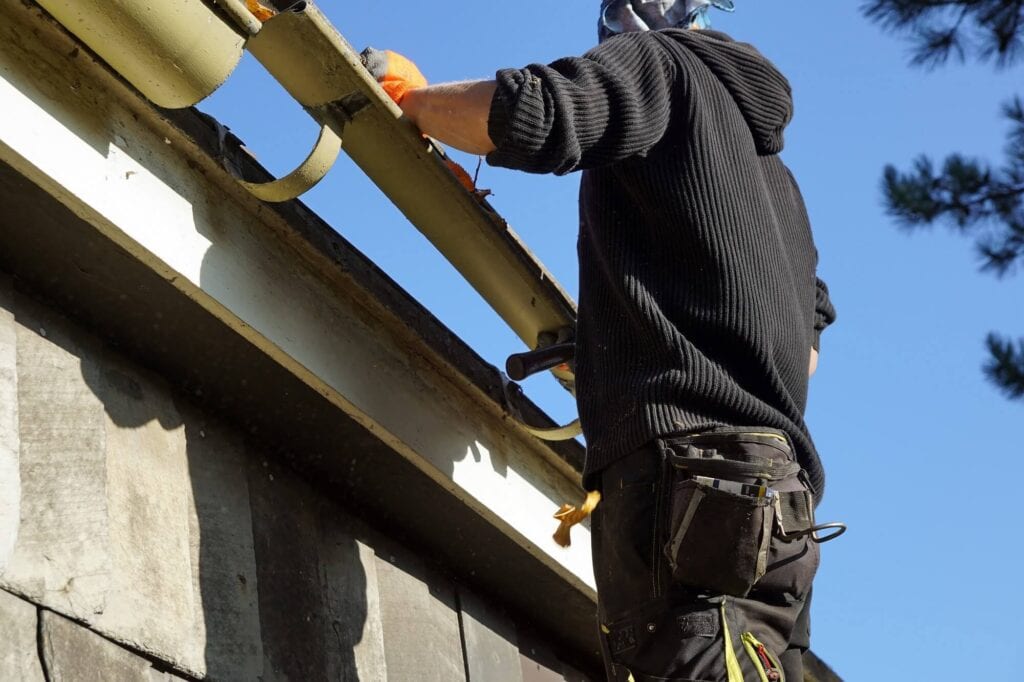
Hangers are spaced about every two feet, closer where heavy ice or leaves are expected, and a trough full of water and leaves weighs far more than most people expect. Elbows at the top and bottom turn the flow, and the bottom elbow points water away from the house, and the fasteners need sealant where they pass through the metal.
Outlets, Elbows and the Path to the Ground
An outlet is cut into the bottom of the trough and a short drop is sealed in place to carry water into the downspout, and each section is positioned so that water flows downhill into the next. Splash blocks under the outlet protect the soil from erosion and direct the flow away, and the choice of discharge depends on the land and the house.
Sealing, Corners and the Details
End caps close the trough at each end and are sealed on the inside so that water does not drip out, and these small details make the difference between good and poor installations. Drip edge guides water into the trough, and its lower lip should sit over the back of the gutter, and a thoughtful finish is a detail that lasts.
Checking That Water Goes Where It Should
Downspouts are checked at the bottom to be sure that water is leaving freely and flowing away from the wall, and it is much easier to fix a drip now than after the first storm. Look at the ground below the downspouts to see that the water is moving away from the foundation, and a brief check after a few storms is a sensible habit.
Scheduling the Work Around the Weather
Rain delays the work, since sealant needs time to set and the roof edge should be dry, and large jobs may be done in stages. Noise is limited to the rolling machine, if one is used, and the hammering of hangers, and good communication is part of a smooth job.
Approvals Worth Asking About
Asking before work begins is far easier than undoing work that breaks a rule, and a short call to the right office usually settles the question. Changing where water is sent, such as adding a buried drain, may involve rules about runoff, and checking is quick and prevents a delay.
Common Installation Mistakes to Avoid
Missing sealant at corners, end caps and outlets lets water drip out of the system, and these errors are common but entirely avoidable. Leaving debris, screws or offcuts in the finished gutter creates clogs from day one, and a clean job reflects a careful approach.
What to Keep and What to Watch
Check the system after the first few storms, looking for drips, overflow and signs of settling, and a new system still needs a little care. Trees that grow near the house will deliver more debris each year as they mature, and the work is not finished until the system is clear and flowing.
Gutters on Roofs That Are Not Simple
Hip roofs have long eaves on every side, and the corners need carefully mitered pieces, and the installer works from a sketch of the whole roofline. A splash guard at the valley keeps the stream from leaping over the front of the trough, and the details matter most where the roof is most complicated.
Ladders, Scaffolds and Careful Habits
Power lines near the house are a hazard, and metal ladders should never be used close to them, and a fall from even a single story can be severe. Long runs of metal are awkward to handle, and a sudden gust can turn them into a sail, and a short safety briefing is routine on a good crew.
Planning Gutters Alongside Other Exterior Work
Doing the work in the right order avoids the need to remove and re-hang new gutters later, and the crews may be able to coordinate with each other. Old gutters sometimes have to be taken down for roof work and put back, which is a good chance to replace them, and a combined project can be easier on the household.
Booking a Visit for Gutter Installation in Keller Texas
Homeowners thinking about Gutter Installation in Keller Texas can reach J. Riley Roofing & Gutters at 940-456-9905, and someone will come out to measure the roof edge and look at the fascia.