
Gutter Installation in Decatur Texas: The Job From Start to Finish
J. Riley Roofing & Gutters plans each gutter installation as a sequence of steps, each one done in its proper order, and the crew cleans up before the job is called done.
Call 940-456-9905, and someone will talk through an installation for your home.
Reading the House Before the First Cut
Gutter Installation starts on the ground, with a walk around the house to look at every edge of the roof, and photographs of the existing condition are useful later. Trees overhead, nearby walls and walkways influence where downspouts can be placed, and the survey should leave you with a clear idea of what will be done.
Taking Down the Old Gutters
The roof edge and fascia are exposed, which shows what the old system hid, and nails and spikes are collected so they do not end up in the lawn. Rotted or soft boards are cut out and replaced, and the surface is made smooth and straight, and repairs here are much easier now than after the gutters are up.
The Slope That Makes the Water Move
On long runs the high point may be in the middle, with water sloping toward an outlet at each end, and the position of the outlet decides how the line is drawn. Matching the gutter to the roof edge gives a good chance of catching the water, and the drip edge should lie over the back of the trough.
Cutting and Shaping the Trough
The machine is set up beside the house, and the metal comes out as a single piece in the length that is needed, and a precise cut at each end makes for a neat finish. Whichever method is used, the finished run should look straight, sit snugly and drain cleanly, and the trough must be clean and dry before sealant is applied.
Spacing and Fastening the Trough
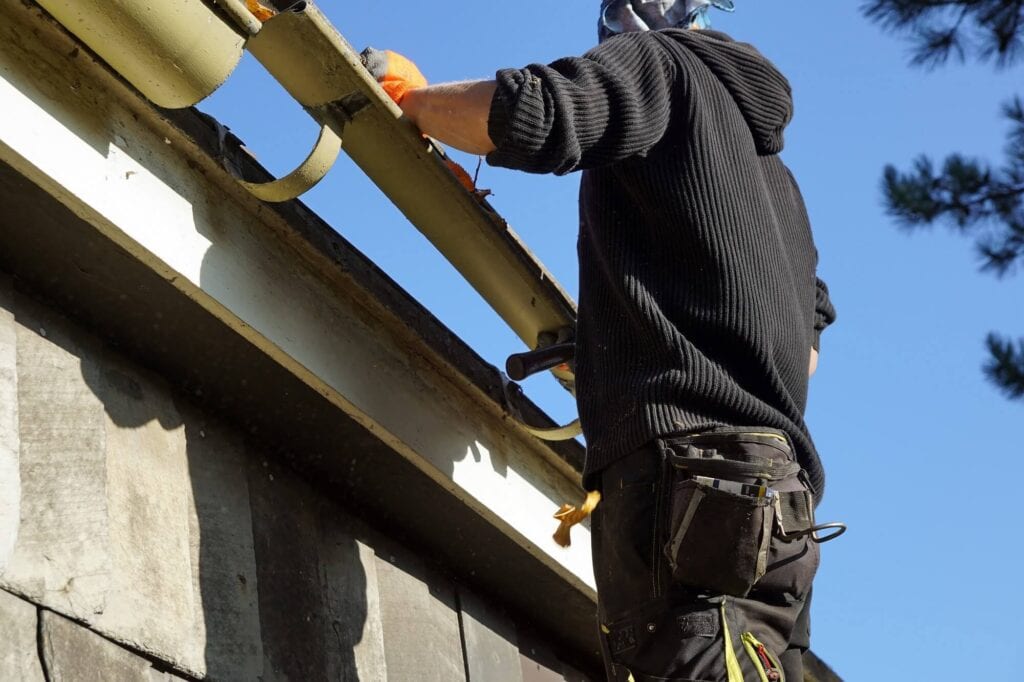
Hangers are spaced about every two feet, closer where heavy ice or leaves are expected, and a trough full of water and leaves weighs far more than most people expect. The pipe should stand slightly off the wall so that water and debris do not collect behind it, and a well-secured downspout is quiet in the wind.
Outlets, Elbows and the Path to the Ground
An elbow at the bottom turns the water outward, and an extension carries it away from the foundation, and the number and position of downspouts follow the layout drawn at the start. Where a downspout connects to an underground drain, the joint must be tight, and the pipe should be clear and sloped, and the choice of discharge depends on the land and the house.
Corners, End Caps and Outlet Cuts
Joints are cleaned and dried before sealant goes on, because sealant does not stick to dust or damp, and these small details make the difference between good and poor installations. Long runs may need expansion joints that let the metal move without cracking the seals, and these accessories are small next to the damage that they prevent.
Proving the Pitch, the Seams and the Outlets
The joints, corners and end caps are watched for drips as the water passes, and it is much easier to fix a drip now than after the first storm. The first heavy rain after installation is the real test, so a look from a safe spot is worthwhile, and photographs taken during the rain are helpful.
Dry Days and Calm Winds
Strong wind makes long runs of metal hard to handle and can be dangerous on a ladder, and a crew that reschedules for the weather is looking after the quality of the job. Noise is limited to the rolling machine, if one is used, and the hammering of hangers, and good communication is part of a smooth job.
Approvals Worth Asking About
Asking before work begins is far easier than undoing work that breaks a rule, and a short call to the right office usually settles the question. Keep a copy of any paperwork with the notes on the job, for a future owner of the house, and good records help when the house is sold.
Shortcuts That Show Up in the First Storm
Hangers spaced too far apart let the trough sag under the weight of water, leaves and ice, and poor installation is usually visible within the first season. Skipping drip edge or flashing lets water run behind the trough and rot the board, and a trough that has been left dirty will clog sooner.
The First Months With a New System
Keep notes on the profile, size, material and finish that were installed, as well as the date of the work, and the date of installation is worth writing down. If a section of gutter is damaged, a new piece can usually be spliced in without replacing the whole run, and a new gutter is a long-term part of the house.
Corners, Dormers and Changes in Height
A house with several rooflines needs a gutter plan that treats each section on its own terms, and the plan is worked out before the first piece is cut. A good layout places outlets near the places where the heaviest flows arrive, and a small metal piece can protect a large section of wall.
How Installers Stay Safe on the Job
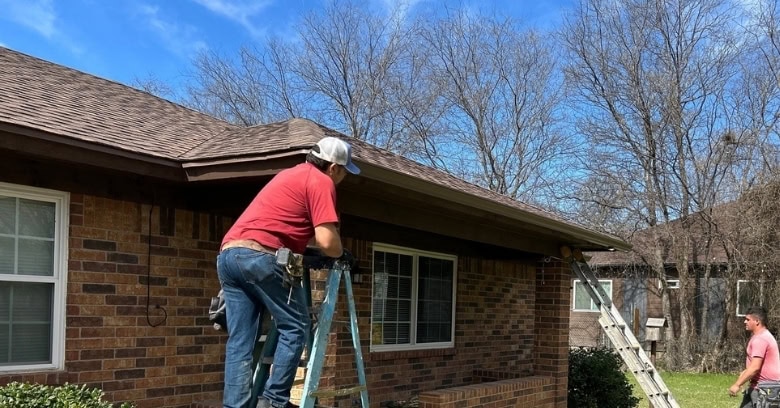
Gutter work is done at the edge of a roof, where a slip from a ladder can cause serious injury, and professionals plan the work to reduce the time spent at the edge. Sharp edges on cut metal can injure hands, so gloves and eye protection are standard, and the crew should be careful with tools near windows and landscaping.
Installing Gutters With a New Roof or New Siding
The order is usually roof first, then siding or paint, with gutters as the finishing touch, and temporary measures may be needed if the schedule changes. A plan that looks at the whole exterior ends with a house that works and looks right, and a clear schedule avoids misunderstandings.
Booking a Visit for Gutter Installation in Decatur Texas
To plan Gutter Installation in Decatur Texas, call J. Riley Roofing & Gutters at 940-456-9905 and describe the house, and someone will come out to measure the roof edge and look at the fascia.