
Gutter Guard Installation in Argyle Texas, One Section at a Time
J. Riley Roofing & Gutters installs guards after cleaning the trough, checking the slope and measuring each run, and the work is explained in plain words.
Speak with us at 940-456-9905, and the steps will be explained in plain terms.
A Clean Trough Is Where Installation Starts
Leaking seams are re-sealed while they can still be reached from above, and this prep is a large part of the job. The fascia is checked for softness where the fasteners will bite, and the findings are shared with the homeowner.
Taking Measurements Along the Roof Edge
The distance from the front lip of the trough to the roof edge is noted for covers that tuck under the shingles, and sections are usually supplied in standard lengths and cut to suit. The product instructions are read before ordering, since each has its own rules for fastening, and pairing the guard with the roof is the main point.
Attaching Guards to the Front Lip
Snap-in covers lock into place in the trough with a firm push, and they can be lifted out for cleaning, and the cover should not rock or rattle. Where hidden hangers are present, the cover is notched or shaped to clear them, and fasteners should be of a compatible metal.
Roof Edge Details for Under-Shingle Guards
Care is needed in cold weather, when shingles are stiff and can crack, and in hot weather, when they are easily scuffed, and the guard must rest at the right angle to shed water. A cover tucked under shingles lifts them slightly, and nails should not be driven through the roof surface, and this method suits some roofs better than others.
The Hardware Behind a Firm Installation
Pilot holes prevent the metal from splitting, and a light touch avoids stripping or over-tightening, and the spacing is set by the instructions for the product. Long runs need small gaps between sections for expansion, and the fasteners allow for slight movement, and the installer should leave no loose pieces.
Cutting Corners, Outlets and Downspout Openings
At inside and outside corners, the cover is cut at an angle so that the two sections meet cleanly, and a template can be made from a scrap piece. Joints between sections are made tight, so that water does not leak out at the seams, and a strainer is easy to lift out and clean.
Hidden Hangers, Spikes and Strap Ties
Hangers that sit inside the trough can block a cover, so some guards are shaped or notched to straddle them, and a few extra minutes here save trouble later. Drain outlets and overflow openings must stay clear and not be blocked by the new cover, and a custom cut may be needed.
Making Sure Nothing Can Slip Underneath
The cover should have a slight slope toward the front so that water runs into the trough and not away from it, and the line of the cover should look straight from the yard. A cover that is not seated flat is corrected now and not left for the first storm to expose, and a tidy appearance usually means the work was done well.
A Practical Check Before the Crew Leaves
If water jumps the cover, the angle or fit is adjusted until the test passes, and the test shows quickly where the weak points are. Any overshoot or pooling should be noted with the date and the weather, so the cause can be worked out, and the system should work in a real downpour as well as in a test.
Why Gaps Between Sections Are Deliberate
Sections are placed with small gaps or overlaps, depending on the product, to allow for this movement, and the gap sizes are small but they matter. On a hot afternoon, a cover may sit differently than it will on a cool morning, and gaps should still be small enough to keep debris out.
Different Gutters, Different Details
Any leaking seam beneath a cover will be hard to see and slow to fix, so it should be sealed first, and the connectors on sectional runs should be sealed and secure. Some older gutters are wider or narrower than the standard sizes, which limits the choice of cover, and the shape of the front edge is a key detail.
Protecting People and Property During the Job
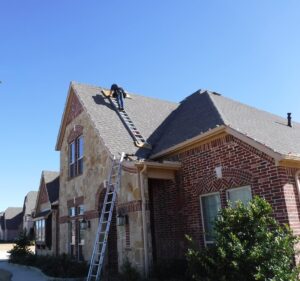
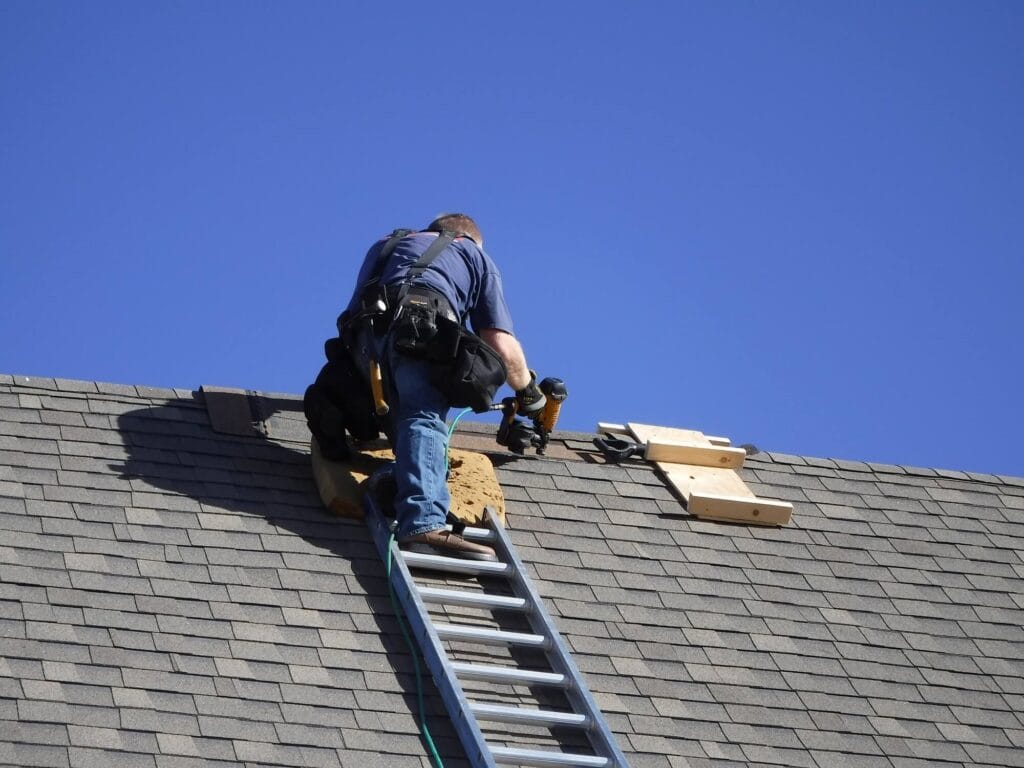
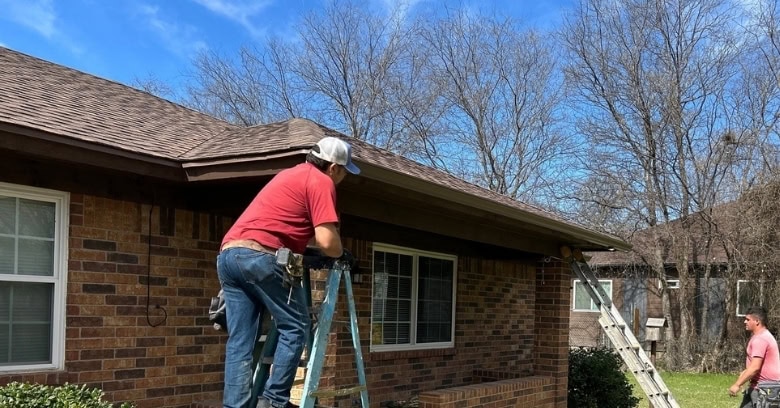
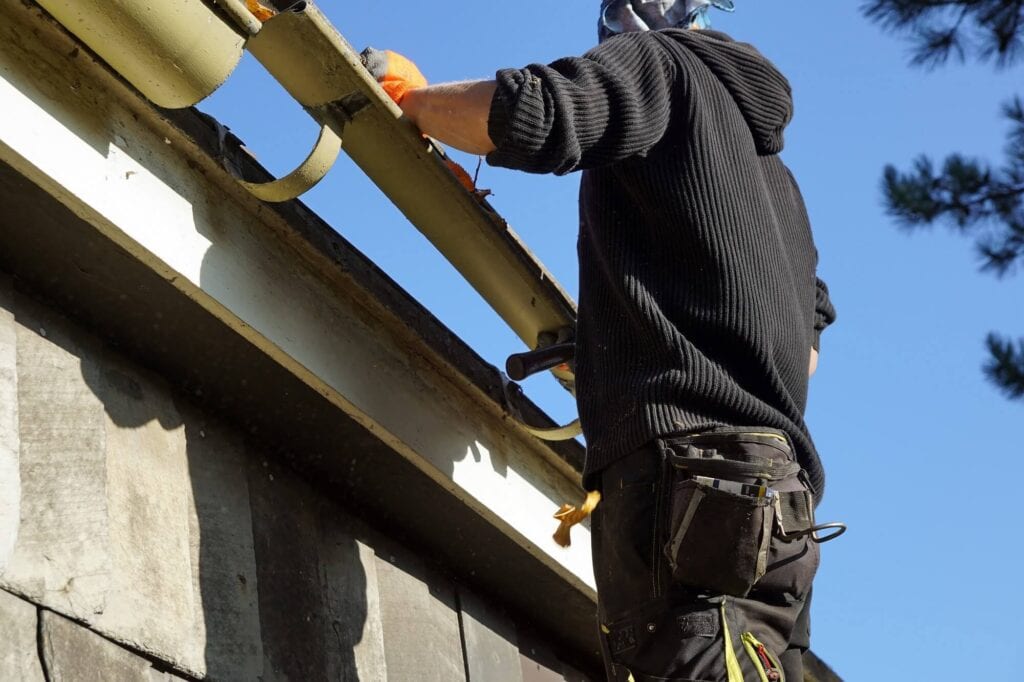
Tools are carried in a belt or hoisted up, so that both hands stay available on the ladder, and a fall from even a modest height can cause injury. Homeowners should stay out of the area below the work, and children and pets should be kept indoors, and plants near the wall may need a covering.
Cleanup, Paperwork and Parting Notes
The roof edge, the lawn and the beds are swept clear of shavings, offcuts and fasteners, and a note about the date of the installation helps later. Keep the product information with the house papers, in case a section ever needs replacing, and small fixes are easiest when they are made early.
How the Guards Look Once They Are On
Mill-finish metal looks plain, while painted or coated covers can be chosen to match the fascia color, and the finish also affects how the cover ages in the sun.
Planning the Day of the Work
Guard installation usually takes a few hours to a day for an average house, depending on the length of the roof edge, and pets should be kept indoors.
Weighing a Weekend Project Against Professional Work
Many homeowners decide that the ladder work is better left to people with the equipment and the habits for it, and a professional can also check the gutter and the roof edge while there.
Booking a Visit for Gutter Guard Installation in Argyle Texas
Homeowners wanting Gutter Guard Installation in Argyle Texas can reach J. Riley Roofing & Gutters at 940-456-9905, and someone will come out to look at the gutters and the roof edge.