
The Steps Behind Gutter Guard Installation in Reno Texas
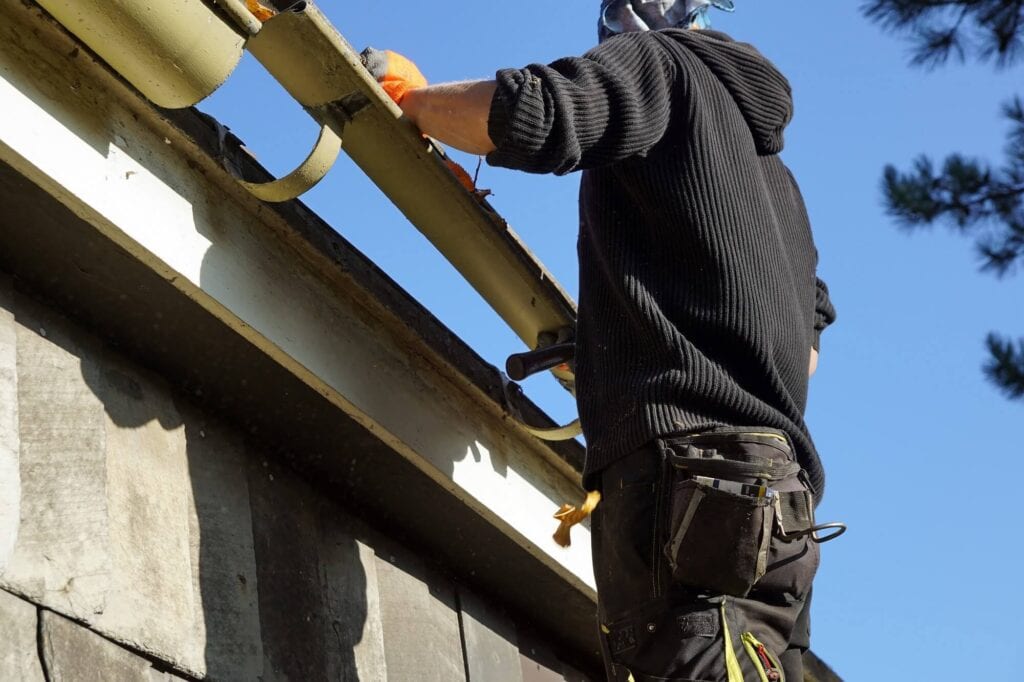
J. Riley Roofing & Gutters approaches a guard job as careful work along the roof edge, with the gutters made ready first, and the method is matched to your roof and not borrowed from another.
Speak with us at 940-456-9905, and someone will talk through how guards would go onto your gutters.
Cleaning and Flushing Before Anything Is Covered
Leaves, grit and sludge are scooped out by hand, and the trough is rinsed until the water runs clean, and a clean trough shows the true condition of the metal. Dents, sags and bent sections are straightened where possible, since the guard has to sit on a true line, and the findings are shared with the homeowner.
Sizing a Guard to the Trough
Each run is measured in length, and the number of corners, outlets and end caps is counted, and an extra piece or two is kept for awkward spots. Guards are chosen to match the debris on the roof, the pitch of the slopes, as well as the way the gutter is attached to the house, and the choice is explained before work begins.
Clip-On and Snap-In Guards
Adjacent sections are butted together or overlapped as the product directs, leaving no gaps for debris, and the cover should not rock or rattle. A gap at the back lets debris collect beneath the cover, so the seat against the fascia is checked closely, and slotted holes allow the cover to expand and contract.
Roof Edge Details for Under-Shingle Guards
Care is needed in cold weather, when shingles are stiff and can crack, and in hot weather, when they are easily scuffed, and the cover and the drip edge must work together. Shingles that have curled or cracked at the edge may not seat properly over a guard, and a second look at the edge after the work is advisable.
Securing a Cover With Hardware
Fascia-mounted brackets hold a hooded cover at the right angle, projecting forward over the edge of the gutter, and the spacing is set by the instructions for the product. The finished cover should line up with the roof edge and look straight from the ground, and a tidy finish is a sign of care.
Shaping the Cover to Every Feature
Tin snips or a fine-toothed saw cut the material, and rough edges are smoothed so they do not catch debris, and gaps at the corners are kept as small as possible. Valley corners and places where roof water arrives in force may need a splash guard on top of the cover, and extra parts are only used where they help.
Hidden Hangers, Spikes and Strap Ties
Straps that wrap around the gutter can interfere with the cover, and a different method of support may be needed, and a bent hanger is straightened or replaced. Drain outlets and overflow openings must stay clear and not be blocked by the new cover, and the crew will not cover anything that needs to stay open.
Checking the Seat at the Back, the Front and the Ends
Any movement in the cover when pressed by hand shows a loose spot that needs more fastening, and adjustments are small but important. The aim is a roof edge that looks tidy and a cover that works as intended, and a tidy appearance usually means the work was done well.
Running Water Over the New Guards
The test is repeated at the valleys and the outlets, where the heaviest flows arrive, and a poor result at this stage is easy to fix. If a guard is simply the wrong type for the roof, the installer should say so honestly, and a second visit may be needed if a storm shows a problem.
Fastening That Lets the Cover Breathe
Sections are placed with small gaps or overlaps, depending on the product, to allow for this movement, and rattling at night often points to a fastening problem. Dark finishes absorb more heat and move more than light ones, and gaps should still be small enough to keep debris out.
How the Gutter Type Affects the Job
Joints in the guard should not line up with joints in the trough, so that weak points are not stacked together, and an older gutter may not suit some covers. Some older gutters are wider or narrower than the standard sizes, which limits the choice of cover, and honest advice about the limits saves frustration.
Protecting People and Property During the Job
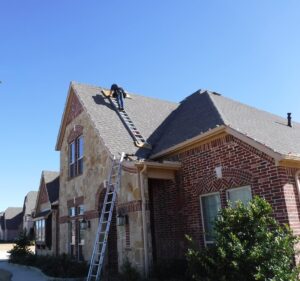
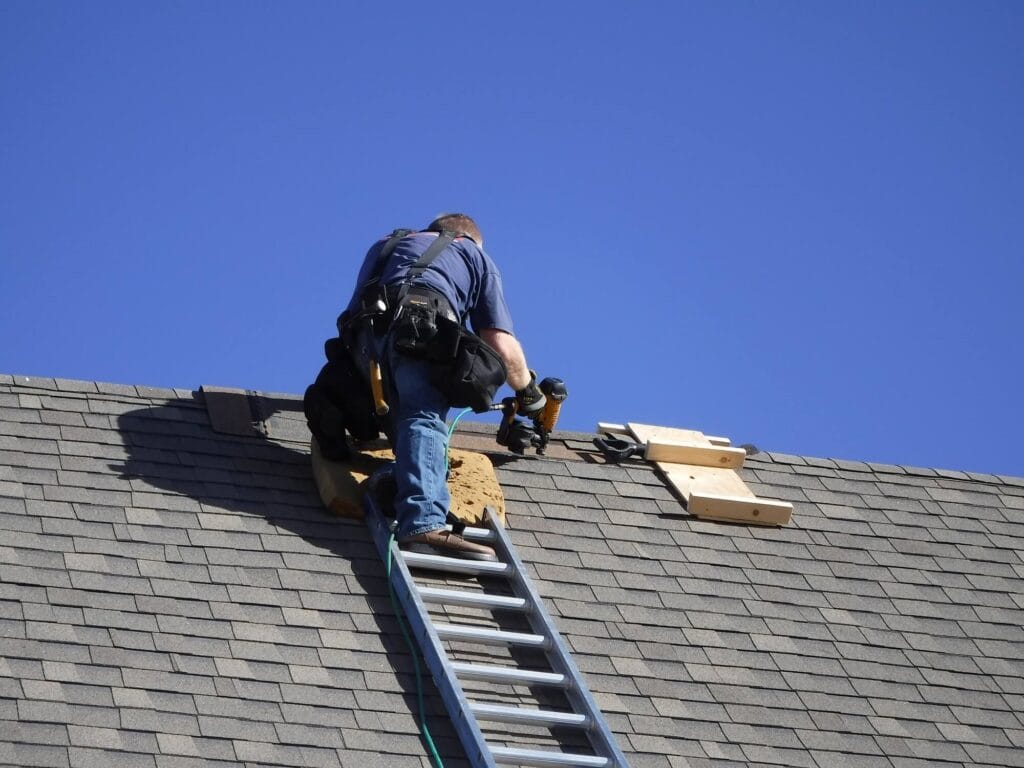
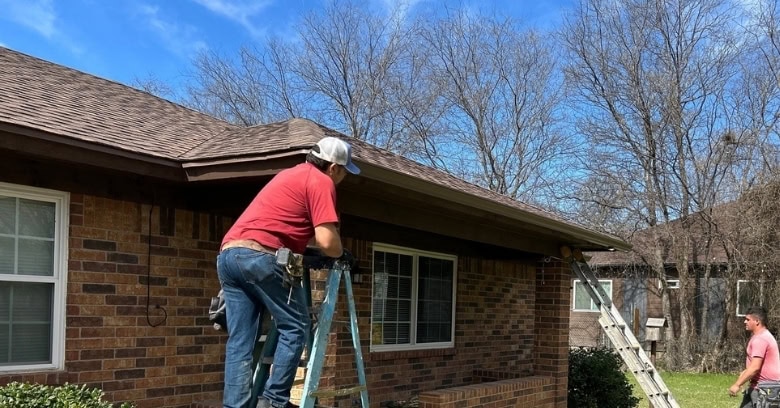
Ladders are set on firm, level ground, with the feet secured, and extended well above the gutter line, and a fall from even a modest height can cause injury. Homeowners should stay out of the area below the work, and children and pets should be kept indoors, and a short conversation at the start sets the rules.
Cleanup, Paperwork and Parting Notes
At the end, the installer checks every section of guard and every fastener, and tests the system with water once more, and any questions can be answered on the spot. Keep the product information with the house papers, in case a section ever needs replacing, and a short follow-up visit may be part of a thoughtful job.
Appearance Matters Too
A cover that sits flush with the front of the gutter looks neater than one that stands proud of the edge, and the finish also affects how the cover ages in the sun.
Scheduling the Installation
Dry, mild days are the most comfortable for the crew and give sealants and adhesives a chance to set, and a call the day before confirms the plan.
Doing It Yourself or Having It Done
Many homeowners decide that the ladder work is better left to people with the equipment and the habits for it, and a clear idea of the task helps in deciding.
Next Steps for Gutter Guard Installation Around Reno Texas
Homeowners wanting Gutter Guard Installation in Reno Texas can reach J. Riley Roofing & Gutters at 940-456-9905, and the work can be scheduled around your plans.