
Gutter Installation for Reno Texas Homes, Step by Step
J. Riley Roofing & Gutters sets gutters at the correct pitch, with secure hangers and sealed joints, and the crew cleans up before the job is called done.
Call 940-456-9905, to plan new gutters with an installer.
Before Anyone Climbs a Ladder
The installer measures the length of each run and notes the corners, valleys and any places where the roof changes height, and a sketch of the roofline helps everyone agree on the plan. Roof pitch, the size of the roof area and the length of the eaves all decide how large a gutter should be, and anything unusual about the house is worth mentioning at this stage.
Tear-Out Before Installation
Scrap metal is hauled away so that the yard is left clear, and any debris from the old gutters is cleaned up at once. Rotted or soft boards are cut out and replaced, and the surface is made smooth and straight, and a wavy board will show up as a wavy gutter.
Setting the Pitch and Marking the Line
Before any hanger goes up, the installer marks the fascia with a chalk line that sets the slope of the gutter, and a good line makes the rest of the work simpler. Matching the gutter to the roof edge gives a good chance of catching the water, and the roof angle is part of the calculation.
Making Gutters to the Length of the House
The machine is set up beside the house, and the metal comes out as a single piece in the length that is needed, and the metal is handled carefully to prevent dents or kinks. Joints belong away from the places where the most water flows, such as outlets and valleys, and rivets should be placed to pull the pieces together evenly.
Hangers, Brackets and Holding Power
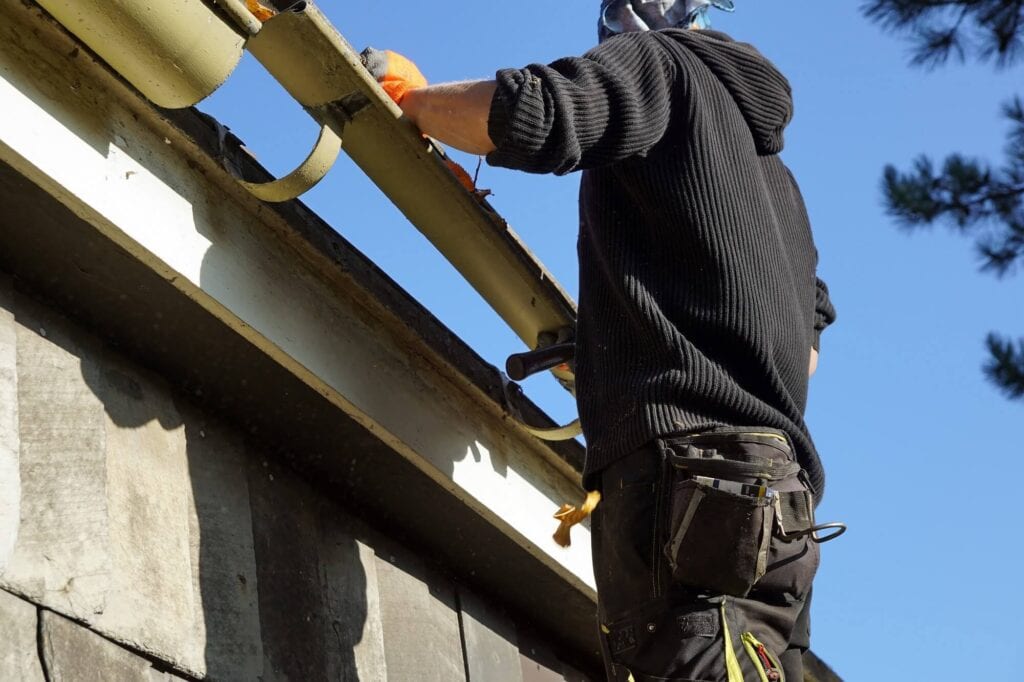
Fasteners should go into solid wood, such as the fascia board or the rafter tails behind it, and a trough full of water and leaves weighs far more than most people expect. Seams in the downspout are arranged so that water flows over them and not into them, and a well-secured downspout is quiet in the wind.
Connecting the Downspouts
An outlet is cut into the bottom of the trough and a short drop is sealed in place to carry water into the downspout, and the top connection is sealed to prevent leaks. Rain barrels can be tied in with a diverter, though they need an overflow route for big storms, and the choice of discharge depends on the land and the house.
Corners, End Caps and Outlet Cuts
End caps close the trough at each end and are sealed on the inside so that water does not drip out, and sealant sets well in mild weather. Drip edge guides water into the trough, and its lower lip should sit over the back of the gutter, and extra attention at the valleys prevents overflow during downpours.
Running Water Through Before the Crew Leaves
Downspouts are checked at the bottom to be sure that water is leaving freely and flowing away from the wall, and it is much easier to fix a drip now than after the first storm. Watch for water falling over the front lip, which suggests too little pitch, a clog or too small a trough, and noting the time and the type of rain helps pinpoint the cause.
Timing a Gutter Installation
Most gutter installations take a day or less for an average house, though large or complex roofs take longer, and a flexible start date makes the work go smoothly. Gutter work does not usually require anyone to be home, though a short walk-through at the end is helpful, and a clear driveway makes the work easier.
Approvals Worth Asking About
A homeowners association may set rules on color, material and style, and may ask for approval first, and some associations offer a list of approved colors. If a gutter project is part of a larger remodel, a permit for the overall work may cover it, and thoughtful planning avoids disputes.
Common Installation Mistakes to Avoid
Hangers spaced too far apart let the trough sag under the weight of water, leaves and ice, and poor installation is usually visible within the first season. Skipping drip edge or flashing lets water run behind the trough and rot the board, and a short list of questions to ask the installer can help.
The First Months With a New System
Photographs of the finished gutters and downspouts show how the system should look when it is sound, and early attention keeps small things small. Guards or screens can be added later if debris is a concern, but they must suit the gutter and the roof, and an installer can recommend what suits your situation.
Complex Rooflines and Two-Story Houses
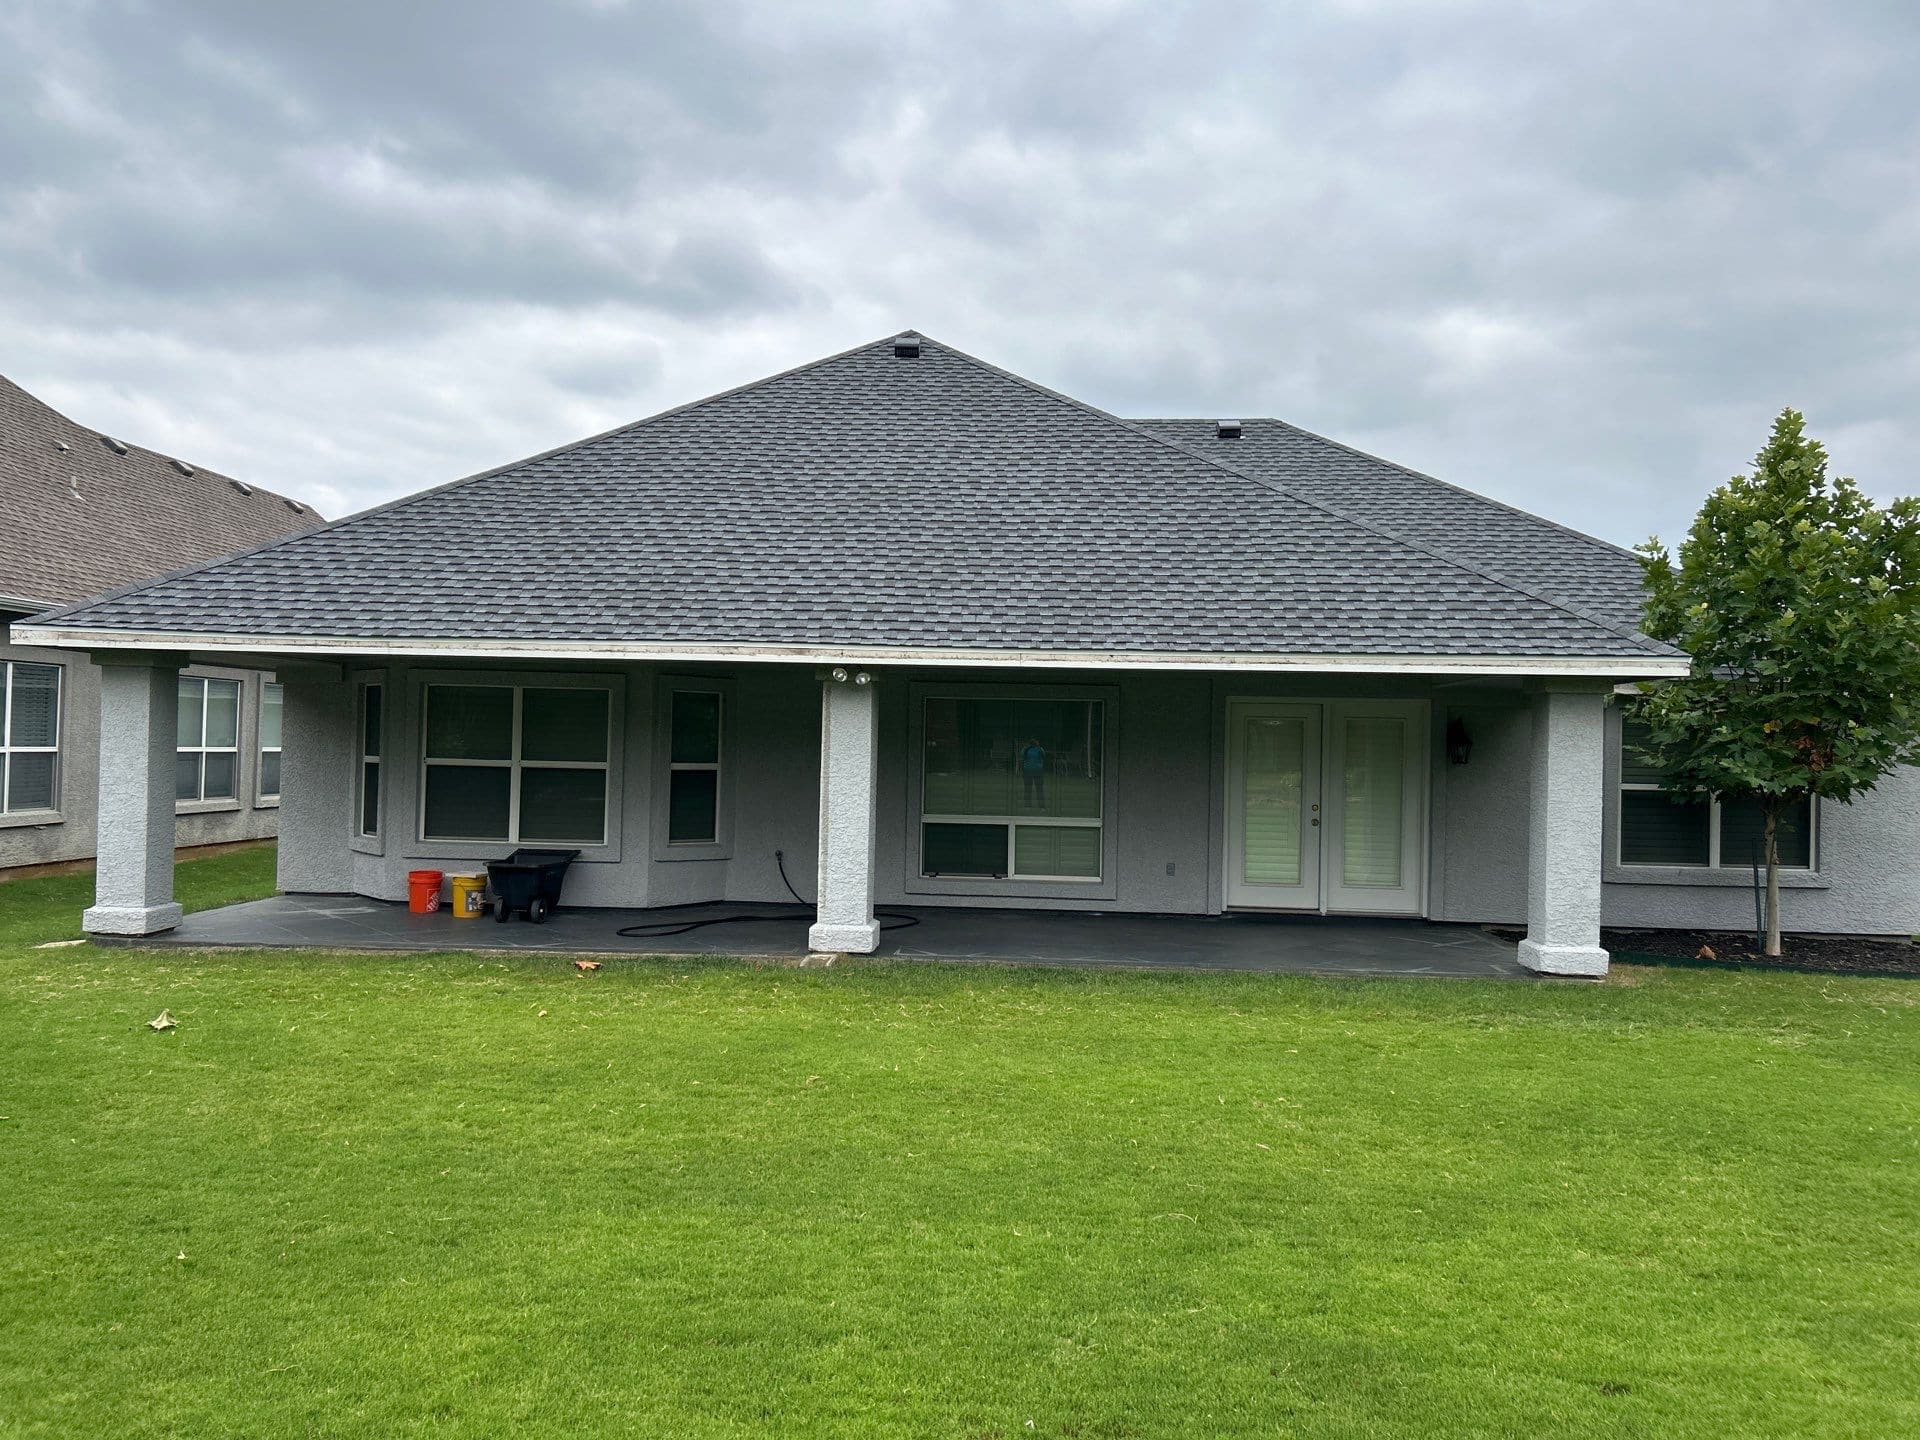
Hip roofs have long eaves on every side, and the corners need carefully mitered pieces, and a short run is often well served by its own downspout. Long, steep slopes shed water faster, which calls for a wider trough and a larger downspout, and the details matter most where the roof is most complicated.
Safety Before Speed
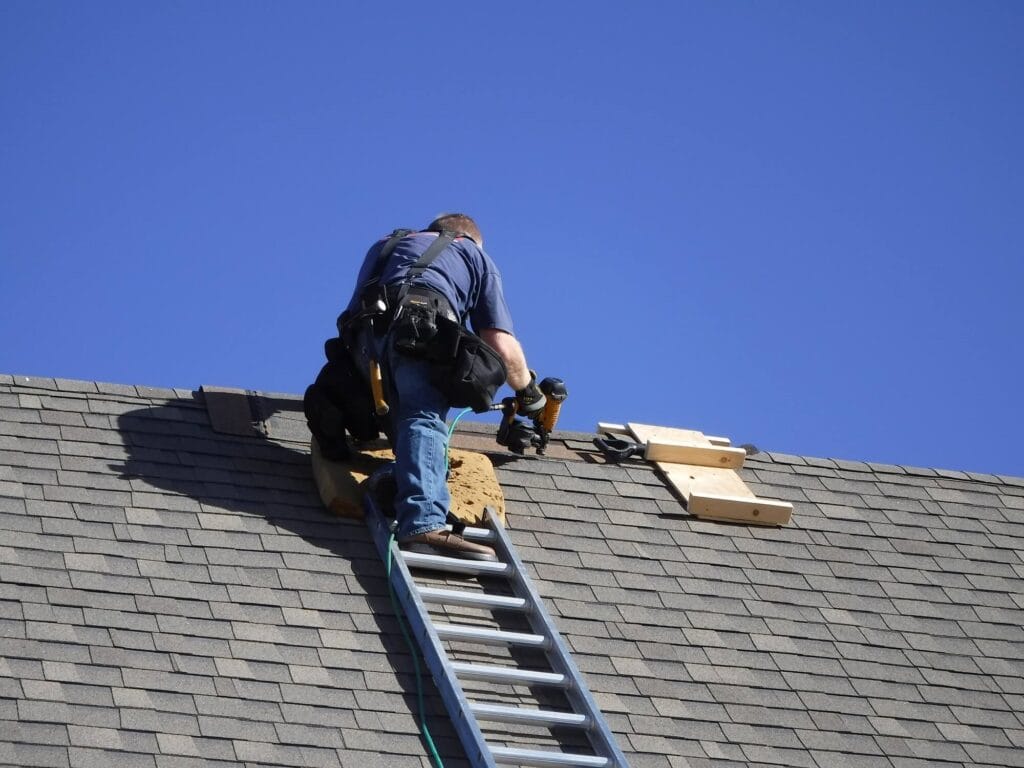
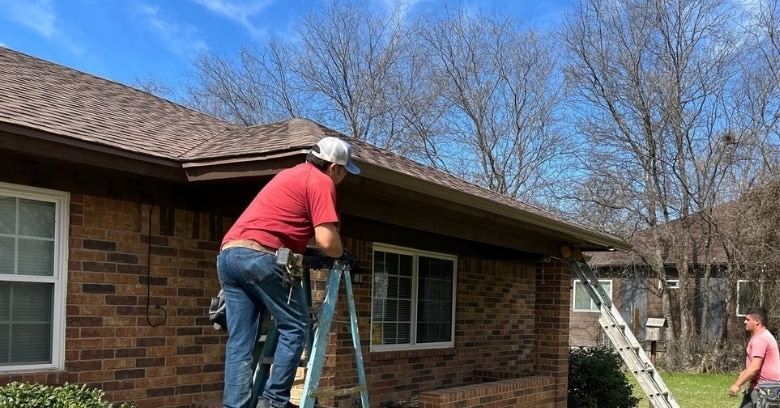
Installers keep three points of contact with the ladder and carry tools in a belt or hoist them separately, and professionals plan the work to reduce the time spent at the edge. Homeowners should stay clear of the work area, and children and pets should be kept inside, and the crew should be careful with tools near windows and landscaping.
Installing Gutters With a New Roof or New Siding
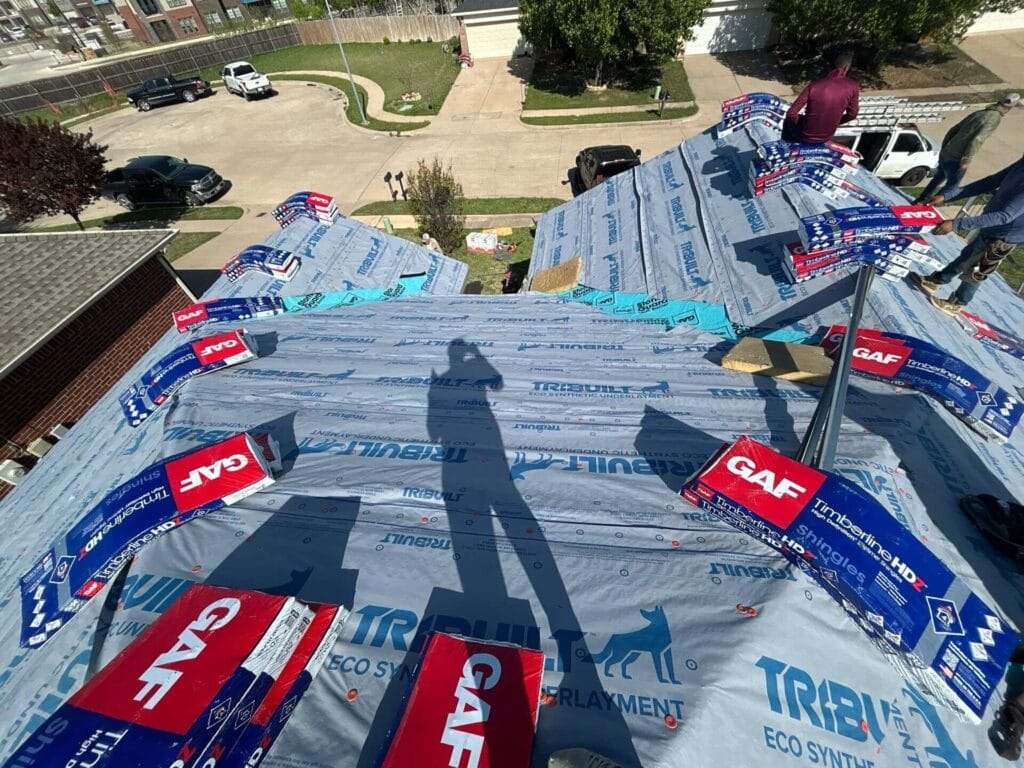
When a roof is being replaced, the fascia and drip edge are exposed, so it is a natural time to deal with the gutters too, and a single plan avoids duplicated effort. Old gutters sometimes have to be taken down for roof work and put back, which is a good chance to replace them, and the gutter line can be adjusted to match a new roof.
Ready for Gutter Installation in Reno Texas?
To plan Gutter Installation in Reno Texas, call J. Riley Roofing & Gutters at 940-456-9905 and describe the house, and the work can be scheduled around your plans.