
Gutter Installation in New Fairview Texas: The Job From Start to Finish
J. Riley Roofing & Gutters walks through every step of an installation so the homeowner knows what to expect, and the crew cleans up before the job is called done.
Reach us at 940-456-9905, and a visit to measure the roof edge can be arranged.
Reading the House Before the First Cut
Gutter Installation starts on the ground, with a walk around the house to look at every edge of the roof, and a thorough survey prevents surprises on the day of the work. A roof with a steep slope or many valleys sends more water to certain spots, which affects where outlets go, and a written description of the plan avoids confusion later.
Tear-Out Before Installation
The roof edge and fascia are exposed, which shows what the old system hid, and any debris from the old gutters is cleaned up at once. Once the old gutters are off, the fascia boards can be inspected closely and repaired where they have been damaged, and a wavy board will show up as a wavy gutter.
Setting the Pitch and Marking the Line
On long runs the high point may be in the middle, with water sloping toward an outlet at each end, and a good line makes the rest of the work simpler. The height of the gutter relative to the roof edge matters, because water must fall into the trough and not run behind it, and the drip edge should lie over the back of the trough.
Metal Coils and Rolling Machines
One-piece gutters are made by feeding a coil of flat metal through a rolling machine that shapes it into a trough, and coils come in a range of colors to match the house. Whichever method is used, the finished run should look straight, sit snugly and drain cleanly, and rivets should be placed to pull the pieces together evenly.
The Hardware That Carries the Load
Fasteners should go into solid wood, such as the fascia board or the rafter tails behind it, and a trough full of water and leaves weighs far more than most people expect. The pipe should stand slightly off the wall so that water and debris do not collect behind it, and a bracket every few feet keeps the pipe true.
Placing and Joining the Downspouts
An elbow at the bottom turns the water outward, and an extension carries it away from the foundation, and the top connection is sealed to prevent leaks. Splash blocks under the outlet protect the soil from erosion and direct the flow away, and the water should have a clear path out of the yard.
Where Gutters Leak First
Rivets and screw heads that pierce the trough should be sealed so water cannot seep around them, and a joint that looks sloppy is likely to leak. The ends of the trough are finished with caps shaped to match the profile, and each detail has a function and is not decoration.
Proving the Pitch, the Seams and the Outlets
Downspouts are checked at the bottom to be sure that water is leaving freely and flowing away from the wall, and the test is a simple way to prove the work. Watch for water falling over the front lip, which suggests too little pitch, a clog or too small a trough, and noting the time and the type of rain helps pinpoint the cause.
When Conditions Suit the Work
Most gutter installations take a day or less for an average house, though large or complex roofs take longer, and a flexible start date makes the work go smoothly. The crew needs access to every side of the house, so gates should be unlocked and vehicles moved, and a short note about anything fragile saves a problem.
Checking What Applies Before Work Begins
Historic districts may have standards for gutter shape and material, and the rules are meant to keep neighborhoods looking consistent. Replacing gutters on the same line as the old ones rarely changes the drainage on the lot, and checking is quick and prevents a delay.
Shortcuts That Show Up in the First Storm
Fasteners driven into soft or rotted fascia pull out, so the board must be sound before gutters go up, and mistakes are much harder to correct once the gutter is hung. Mixing metals, such as steel screws in aluminum, causes corrosion at the contact points, and a clean job reflects a careful approach.
What to Keep and What to Watch
Photographs of the finished gutters and downspouts show how the system should look when it is sound, and a record of the colors helps with future matching. A gutter that is cared for can serve the house for a very long time, and the work is not finished until the system is clear and flowing.
Working Around Hips, Valleys and Tall Walls
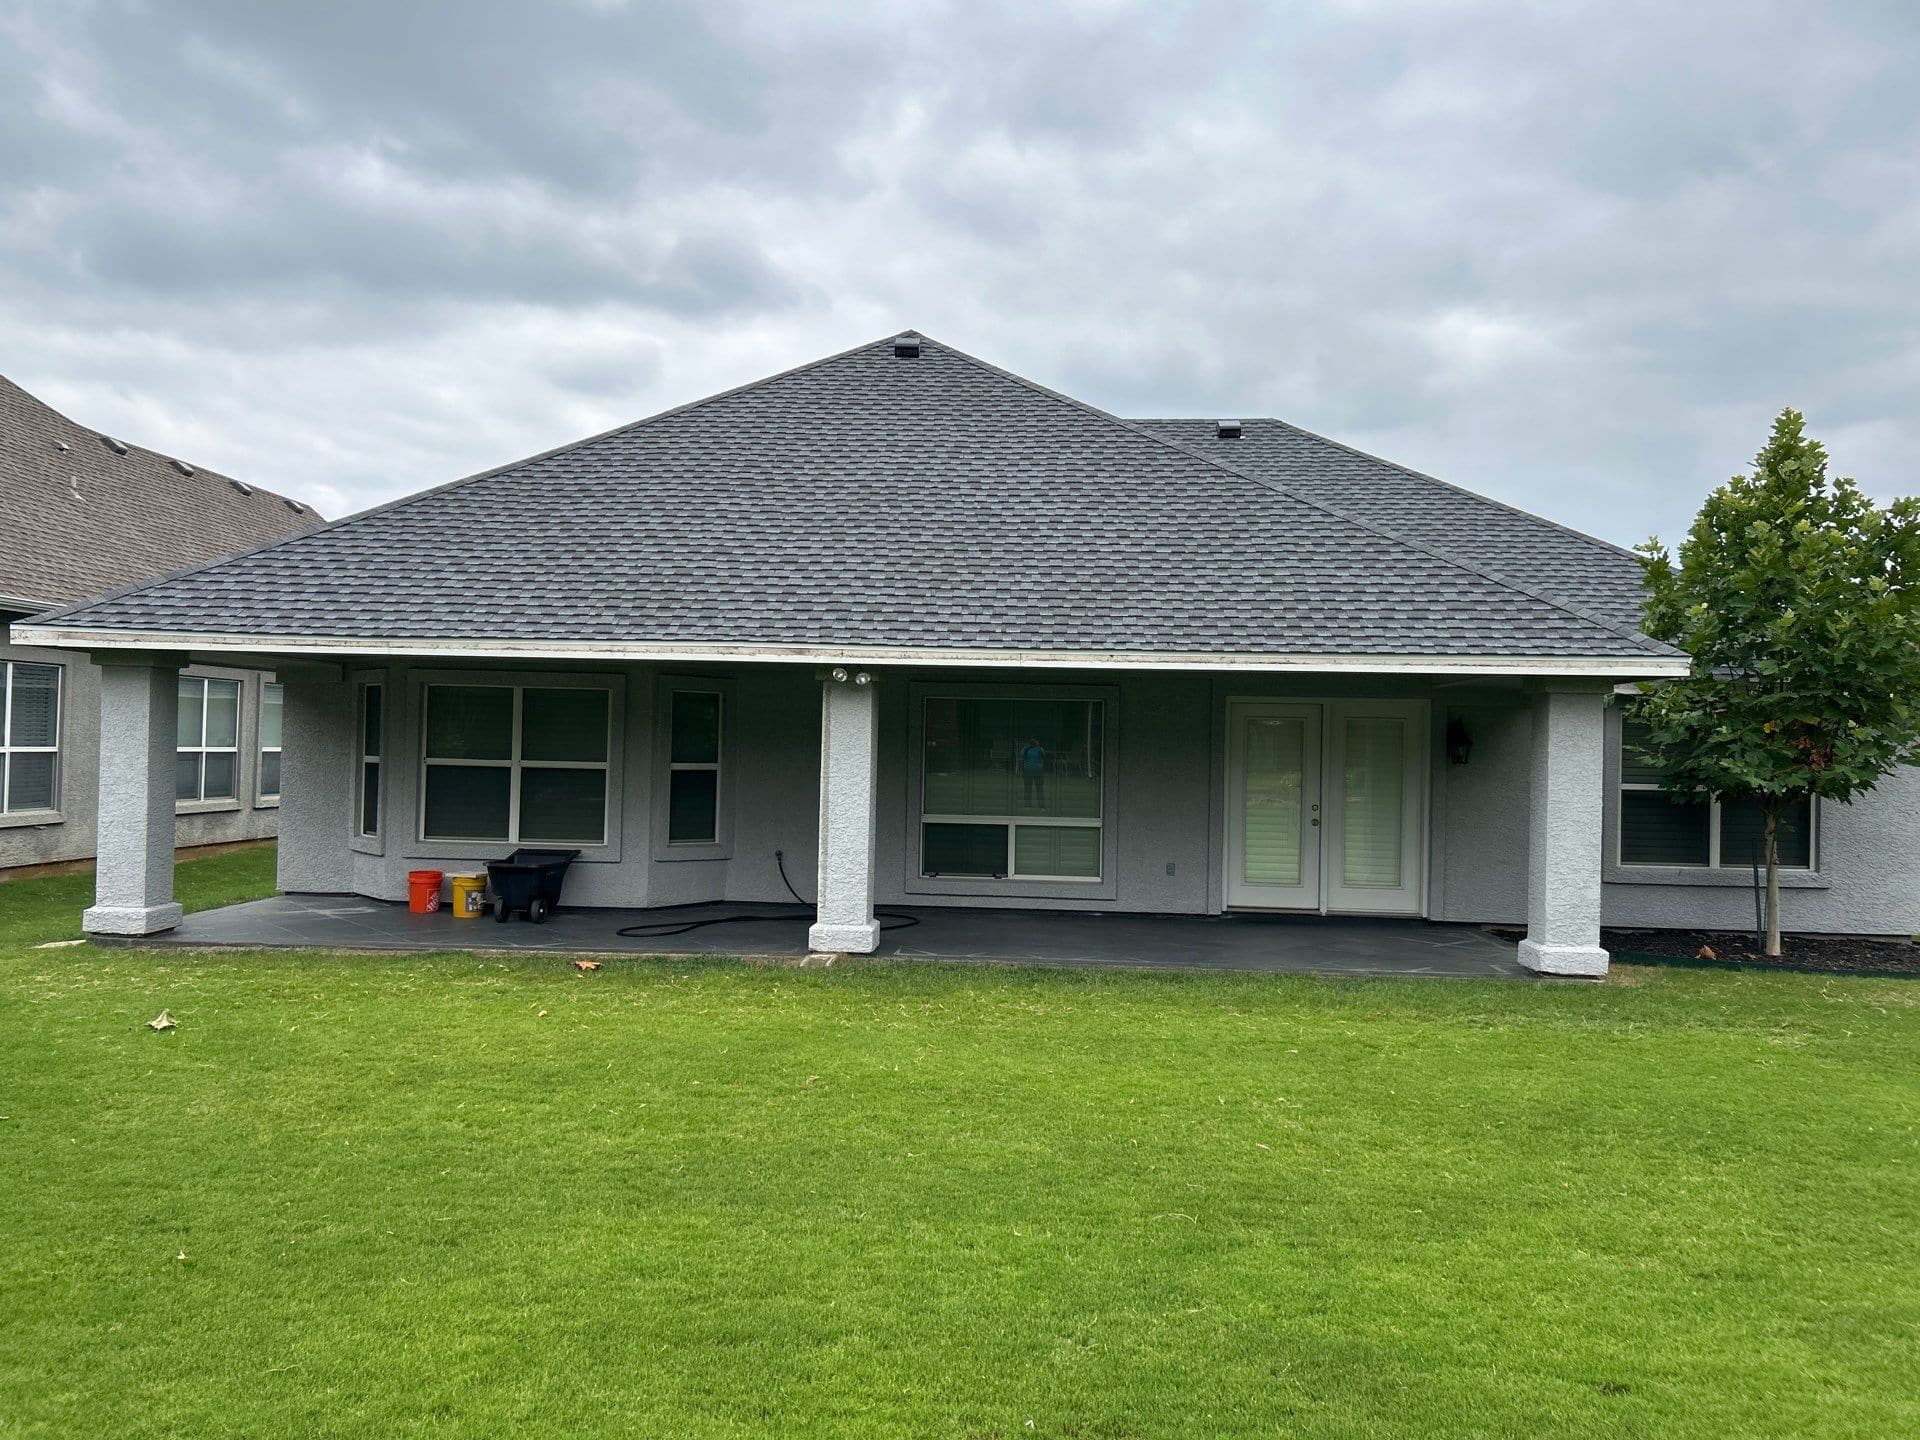
Hip roofs have long eaves on every side, and the corners need carefully mitered pieces, and extra care at each change of level prevents overflow. Roof-to-wall joints may need a kick-out piece that turns water into the gutter and off the wall, and a gutter without these touches is more likely to overflow.
Ladders, Scaffolds and Careful Habits
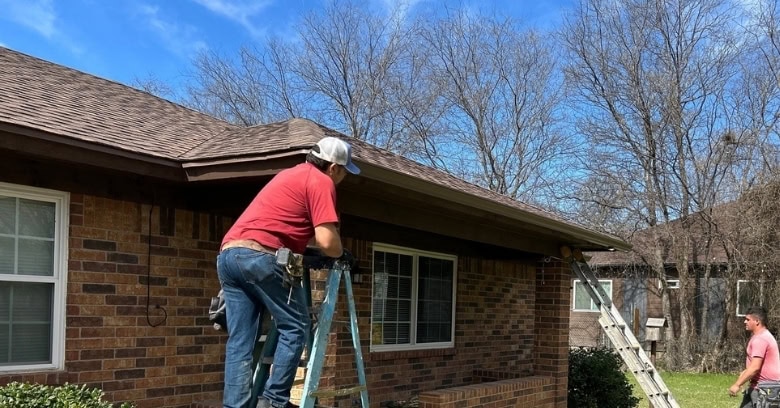
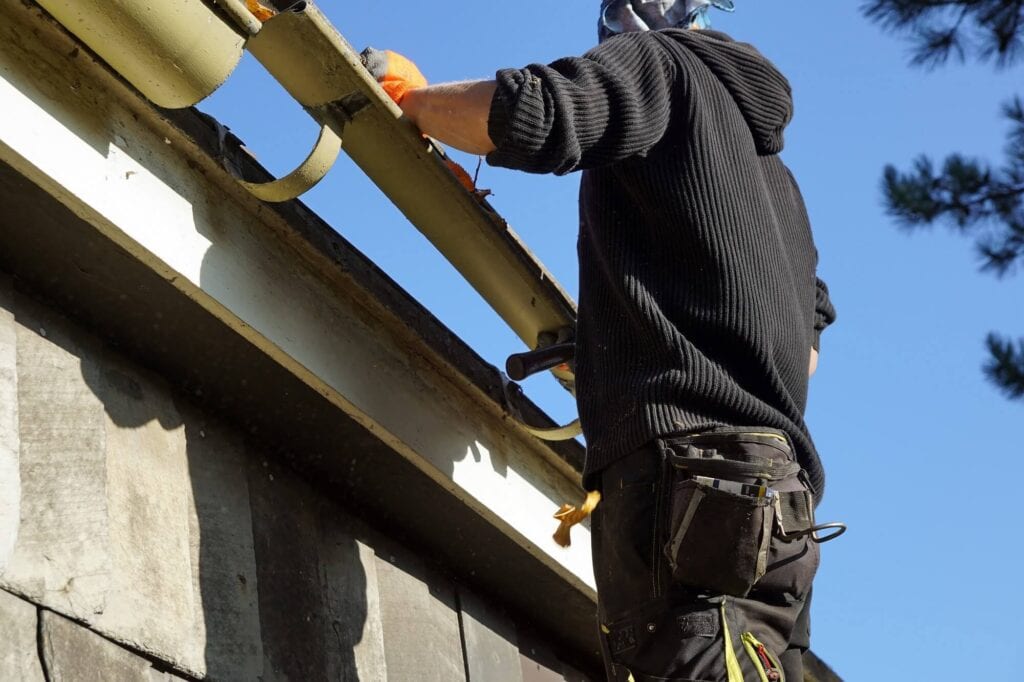
Ladders must stand on firm, level ground and extend well above the roof edge so they can be gripped, and working alone at height is not advised. Sharp edges on cut metal can injure hands, so gloves and eye protection are standard, and a short safety briefing is routine on a good crew.
Why Timing Matters on a Larger Project
New siding changes the line of the wall, and the downspouts should be mounted after the siding is finished, and temporary measures may be needed if the schedule changes. Raising or lowering the roof edge can change the correct gutter position, so it should be checked afterward, and a combined project can be easier on the household.
Next Steps for Gutter Installation Around New Fairview Texas
To plan Gutter Installation in New Fairview Texas, call J. Riley Roofing & Gutters at 940-456-9905 and describe the house, and you get a plain description of how the installation would go.