
Gutter Installation for North Texas Area Homes, Step by Step
J. Riley Roofing & Gutters installs gutters by measuring first, hanging carefully and testing the flow before leaving, and the work is explained as it goes.
Dial 940-456-9905, and the steps will be explained in plain terms.
Surveying the Roof Edge
The fascia is checked for soft spots and rot, since new gutters are only as sound as the board behind them, and photographs of the existing condition are useful later. A roof with a steep slope or many valleys sends more water to certain spots, which affects where outlets go, and the survey should leave you with a clear idea of what will be done.
Taking Down the Old Gutters
When old gutters come down, the crew removes hangers, nails, spikes and any broken sections along with them, and any debris from the old gutters is cleaned up at once. Old nail holes are filled so water cannot find a way behind the new trough, and repairs here are much easier now than after the gutters are up.
The Slope That Makes the Water Move
On long runs the high point may be in the middle, with water sloping toward an outlet at each end, and this is the stage where shortcuts show up later. Matching the gutter to the roof edge gives a good chance of catching the water, and the outer lip is a deliberate overflow point.
Making Gutters to the Length of the House
One-piece gutters are made by feeding a coil of flat metal through a rolling machine that shapes it into a trough, and coils come in a range of colors to match the house. Every connector is a possible leak point, so it must be sealed with a proper gutter sealant, and a patient hand at the joints prevents drips later.
Spacing and Fastening the Trough
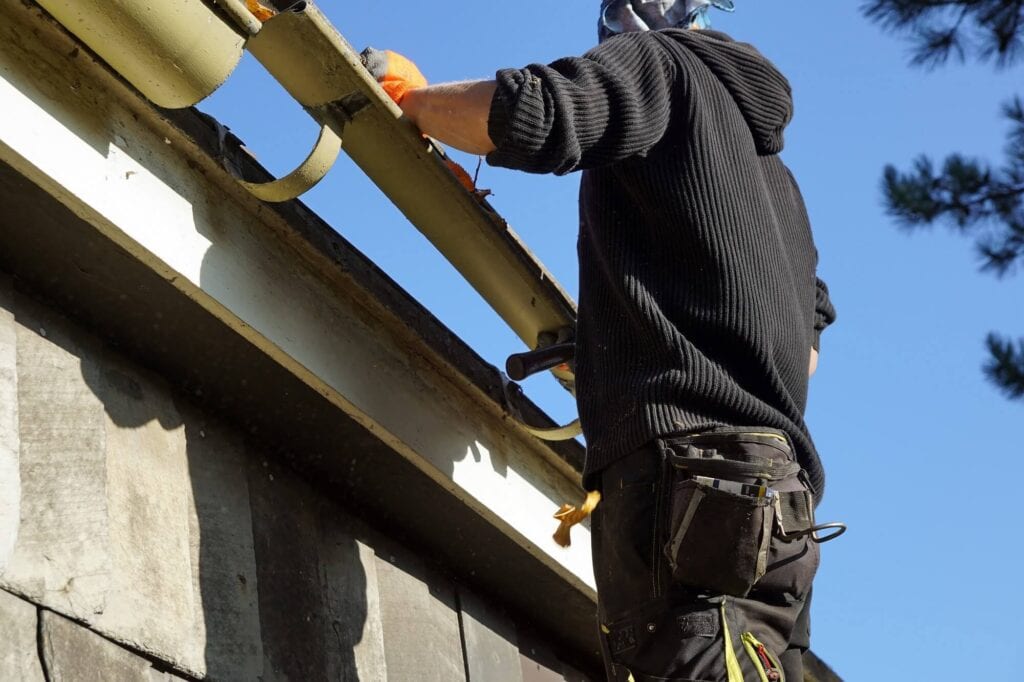
Hangers are spaced about every two feet, closer where heavy ice or leaves are expected, and the spacing matters more than the style of hanger. The pipe should stand slightly off the wall so that water and debris do not collect behind it, and the fasteners need sealant where they pass through the metal.
Sending Water Down the Wall
An elbow at the bottom turns the water outward, and an extension carries it away from the foundation, and the discharge point should be checked in the first rain. Where a downspout empties over a walk or driveway, a longer run keeps the surface from icing or flooding, and the connection should be tested with a hose before the job ends.
Sealing, Corners and the Details
Joints are cleaned and dried before sealant goes on, because sealant does not stick to dust or damp, and a joint that looks sloppy is likely to leak. Gutter apron or flashing is installed under the shingles at the roof edge where a roof needs it, and a metal strip is sometimes added behind the trough to block water.
The Hose Test and the First Rain
The joints, corners and end caps are watched for drips as the water passes, and the homeowner can watch the test and ask questions. Look at the ground below the downspouts to see that the water is moving away from the foundation, and noting the time and the type of rain helps pinpoint the cause.
When Conditions Suit the Work
Dry weather is ideal for sealant to cure and for safe ladder work, so crews watch the forecast closely, and a crew that reschedules for the weather is looking after the quality of the job. The crew needs access to every side of the house, so gates should be unlocked and vehicles moved, and a short note about anything fragile saves a problem.
Permits, Rules and Neighborhood Guidelines
Where downspouts discharge is sometimes regulated, especially near property lines and public sidewalks, and a short call to the right office usually settles the question. If a gutter project is part of a larger remodel, a permit for the overall work may cover it, and good records help when the house is sold.
Errors That Cause Gutters to Fail Early
Too little slope leaves water standing in the trough, and too much makes it rush past the outlet in a downpour, and mistakes are much harder to correct once the gutter is hung. Skipping drip edge or flashing lets water run behind the trough and rot the board, and a clean job reflects a careful approach.
After the Installation: Records and Care
Check the system after the first few storms, looking for drips, overflow and signs of settling, and the date of installation is worth writing down. If a section of gutter is damaged, a new piece can usually be spliced in without replacing the whole run, and an honest answer about maintenance is part of a good installation.
Complex Rooflines and Two-Story Houses
Dormers and bump-outs break the roof edge into short runs, each of which needs its own pitch and outlet, and ladders and scaffolds are set up to suit the height. Roof-to-wall joints may need a kick-out piece that turns water into the gutter and off the wall, and the overflow is easy to spot in a rainstorm.
Why Gutter Work Is Not a Casual Weekend Task
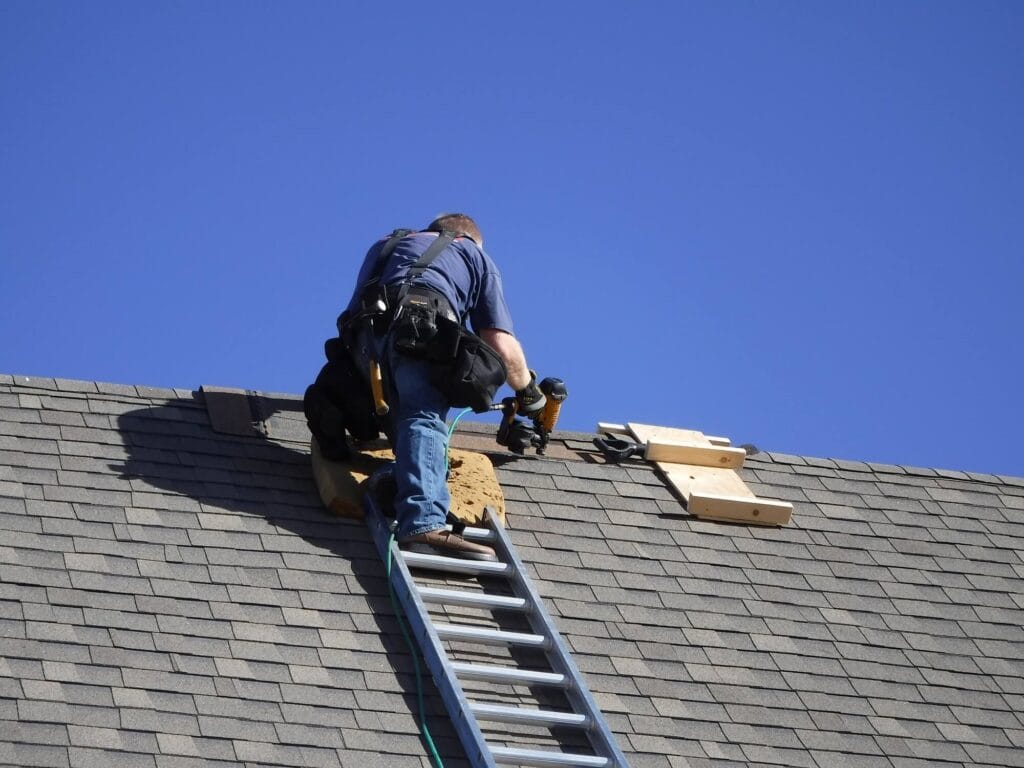
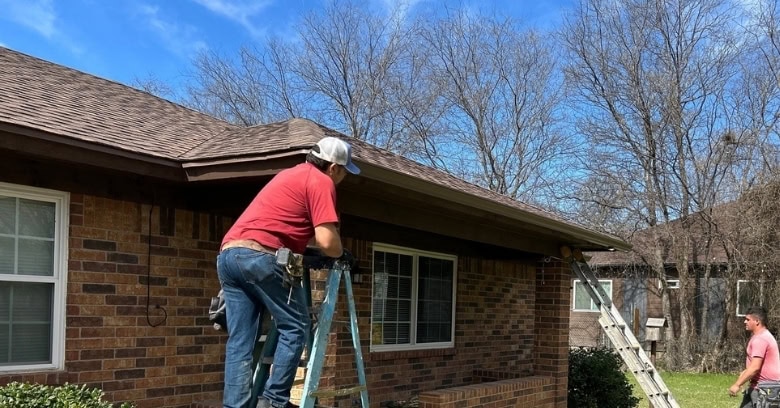
Installers keep three points of contact with the ladder and carry tools in a belt or hoist them separately, and professionals plan the work to reduce the time spent at the edge. Homeowners should stay clear of the work area, and children and pets should be kept inside, and the crew should be careful with tools near windows and landscaping.
Coordinating Gutter Work With Other Projects
Painting the fascia is easiest before new gutters go up, since the board is bare and accessible, and a short chat about the schedule keeps the projects on track. A plan that looks at the whole exterior ends with a house that works and looks right, and it makes sense to ask about the gutters before the roof is done.
Ready for Gutter Installation in North Texas Area?
For Gutter Installation in North Texas Area, phone J. Riley Roofing & Gutters at 940-456-9905 to set up a site visit, and the work can be scheduled around your plans.