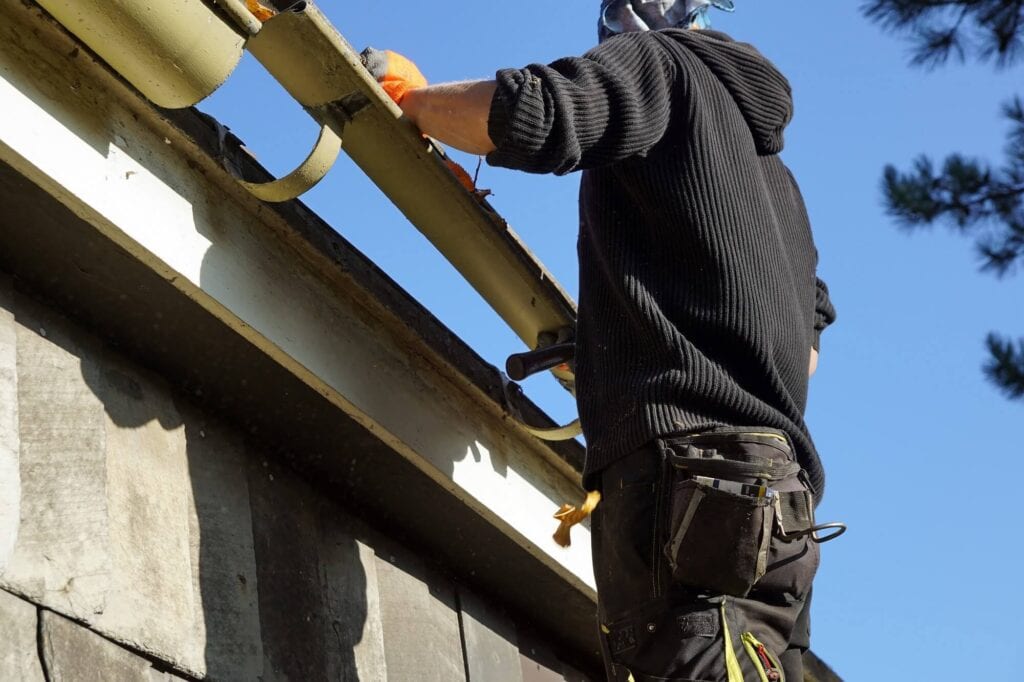

Gutter Guard Installation in North Texas Area: How the Covers Go On
J. Riley Roofing & Gutters follows the attachment method that suits the guard, the gutter and the roof edge, and the method is matched to your roof and not borrowed from another.
Dial 940-456-9905, to plan a guard installation.
Preparing the Run for a Cover
Loose hangers are tightened and weak ones replaced, so the trough is firmly held before any extra weight goes on, and old debris left behind would rot beneath the cover. A gutter that cannot be made sound should be replaced, and a guard should not be used to hide its faults, and this is also the time to measure.
Sizing a Guard to the Trough
The distance from the front lip of the trough to the roof edge is noted for covers that tuck under the shingles, and exact measurements reduce waste and avoid gaps. Where a roof edge has little room, a low-profile cover may be needed, and you can look at a sample piece.
Clip-On and Snap-In Guards
Snap-in covers lock into place in the trough with a firm push, and they can be lifted out for cleaning, and the cover should not rock or rattle. Wind tests the attachment first, so any lift or flutter at the edges is dealt with straight away, and slotted holes allow the cover to expand and contract.
When the Cover Slides Under the First Course
An under-shingle guard needs the shingle to lie flat over the edge of the cover, so the roof edge must be in good condition, and the cover and the drip edge must work together. A cover tucked under shingles lifts them slightly, and nails should not be driven through the roof surface, and it is wise to ask who is responsible if the roof is affected.
Fasteners, Brackets and Firm Attachment
Where the cover meets a hanger, the fastener is placed beside it and not through it, and sealant is applied where a screw passes through the trough. The finished cover should line up with the roof edge and look straight from the ground, and the installer should leave no loose pieces.
Where Guards Meet the Awkward Spots
Where a downspout outlet sits in the trough, an opening is cut so that water can flow freely down the pipe, and each cut is tested before the final piece is cut. Valley corners and places where roof water arrives in force may need a splash guard on top of the cover, and extra parts are only used where they help.
Hidden Hangers, Spikes and Strap Ties
Old spike-and-ferrule fasteners may poke up through the trough and have to be removed or driven flush, and there should be no gaps beneath it. Electrical cables, lights and other fixtures attached to the gutter should be noted and handled carefully, and the homeowner should mention any such features at the start.
Gaps, Gradients and Gentle Adjustments
The cover should have a slight slope toward the front so that water runs into the trough and not away from it, and a tap along the run reveals loose sections. The installer walks the whole run from the ground and then from the ladder, looking for lifted edges and uneven spacing, and nothing should be left to chance.
A Practical Check Before the Crew Leaves
Water should flow smoothly into the trough, without splashing over the front or running off the back, and the real storm will repeat the test on a larger scale. Some covers shed water most cleanly at a certain flow rate, and a heavy rain may exceed what a hose can mimic, and most issues can be solved with a small change.
Fastening That Lets the Cover Breathe
A cover fastened rigidly at every point may bow, rattle or work loose over the seasons, and the gap sizes are small but they matter. Plastic covers move more than metal ones and can warp if they are installed tight in summer or loose in winter, and checking the work in another season is a good habit.
How the Gutter Type Affects the Job
Half-round and box gutters need guards made for their shape, and the standard type will not do, and the guard is chosen to match. Custom work on an unusual roofline takes time, and the installer should describe it before starting, and a quick sketch of the layout helps to plan the work.
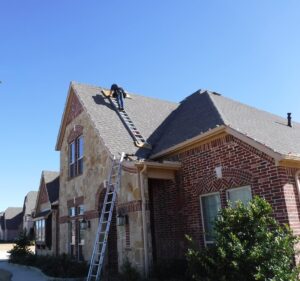
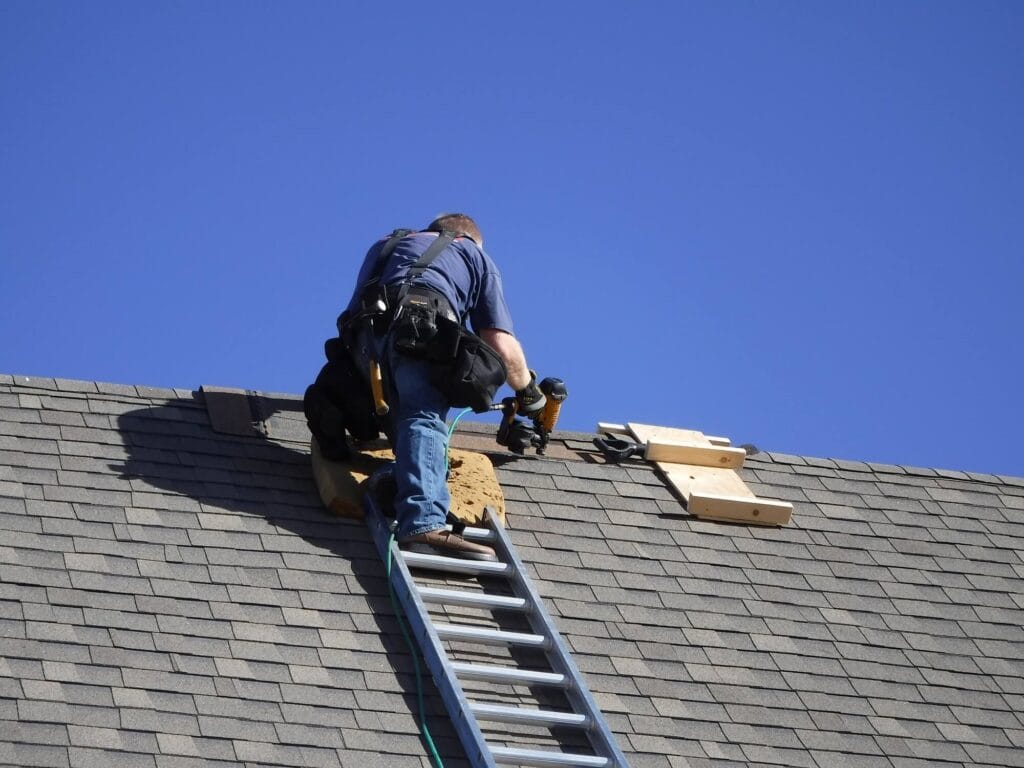
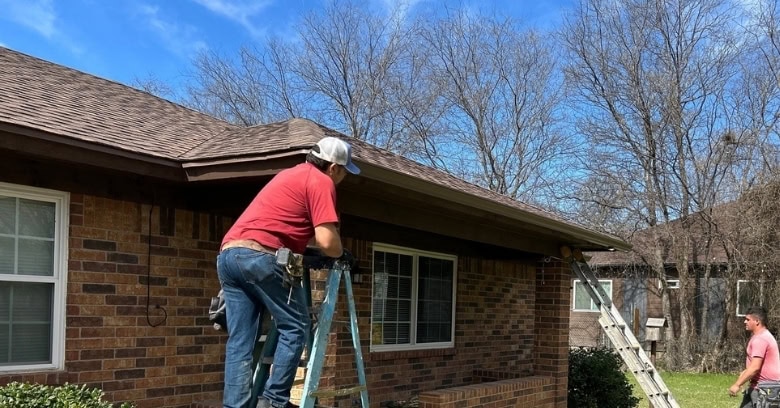
Safety on the Ladder During Guard Installation
Power lines near the house are a hazard, and the ladder should be kept well away from them, and the ladder is moved often to avoid overreaching. Homeowners should stay out of the area below the work, and children and pets should be kept indoors, and a short conversation at the start sets the rules.
Closing Out the Job
Product details, such as the type, size and color of the guard, are noted for the records, and the covers should look neat from the street. Listen for rattling in the wind, which suggests a loose section that needs another fastener, and a short follow-up visit may be part of a thoughtful job.
Choosing a Finish That Suits the House
A cover that sits flush with the front of the gutter looks neater than one that stands proud of the edge, and a neat, straight line adds to the look of the roof edge.
When Guard Installation Fits the Calendar
Someone does not have to be home during the work, though a short walk-around at the end is useful, and a call the day before confirms the plan.
The Case for and Against Installing Guards Yourself
Mistakes such as gaps, wrong angles or damaged shingles can cause problems that are hard to see from the ground, and either way, the instructions for the product should be followed closely.
Ready for Gutter Guard Installation in North Texas Area?
Homeowners wanting Gutter Guard Installation in North Texas Area can reach J. Riley Roofing & Gutters at 940-456-9905, and someone will come out to look at the gutters and the roof edge.